When I was a kid the Sears Wish Book would come each year at Christmas. I would flip through it at least a hundred times, folding over the corners to mark my favorites, while I wrote my letter to Santa. It was all very exciting.
Unfortunately I can't get away with this anymore, being a grown-up and all... I also find that there isn't much that I want for Christmas anymore. So this year, when my Dad asked for my list, I had a couple surprises on there for him. Instead of asking for stuff, I asked for help hanging some curtains and installing a photo wall.
My Dad is incredibly handy, which is wonderfully handy for me. I've received homemade toys and a cedar chest from him in previous years however, I think my request this year may have been the most difficult to date. Let's just say I get my stubbornness, temper, and short fuse from my dad.
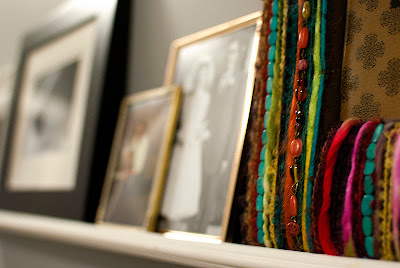
I've had my heart set on a photo ledge for a few months, since I have tons of photos which translate into a ton of holes in my wall when hung. Also I'm a tad indecisive and I like the flexibility a photo ledge offers - I've rearranged the frames three times this week already!
 |
| The finished product - I'm so happy with how it turned out! |
To start, we (we = my dad) looked at the wall, found the studs, and marked out where the ledge would sit. There were also a lot of jokes made about how to "find a stud" at this point - I took notes. Based on the size of the wall we decided to install two ledges, one above the other, offset from each other (to avoid having to line them up perfectly). Each ledge is 5 feet long, 2 inches deep, with a lip to keep the frames in place.
There are three studs in the wall where the ledge sits. To ensure it would be well supported, we were careful to ensure that each ledge was supported by all three studs, even with the offset. Because I am horrible at explaining things of this nature I drew up a little diagram..
To mount the ledges, we set long screws halfway into the wall (so they still stuck out about half an inch) and cut the heads off with a hacksaw. We then drilled holes the same size as the screws into the backside of the shelf and slid it onto the screws, gently hammering it flush with the wall. As a result, you can't see any hardware and the shelves appear to be floating.
A few of my cheaper frames were a bit too meaty for the width of the ledge - simple to fix with a shopping trip on Boxing Day for replacements! I've mixed and matches black and white photos in simple black frames with some colour and I think the whole thing doesn't take itself too seriously.
This was the perfect project for a bit of an odd wall and it really ties everything together along the hallway. I still have some leftover framed photos but I'm sure I can find them homes somewhere around the house.
I got some wonderful gifts this Christmas but this is definitely one of my favorites!
Enjoy!
Calli
By the way, I'm sharing this project over at...
Brassy Apple
Skip to my Lou
Fun to Craft
Today's Creative Blog
Someday Crafts
Night Owl Crafting
Somewhat Simple
Beyond the Picket Fence
The Shabby Creek Cottage
I'm One Project Closer!
By the way, I'm sharing this project over at...
Brassy Apple
Skip to my Lou
Fun to Craft
Today's Creative Blog
Someday Crafts
Night Owl Crafting
Somewhat Simple
Beyond the Picket Fence
The Shabby Creek Cottage
I'm One Project Closer!


It looks great! I love the variety of frames you used. Nice job.
ReplyDeleteReally cute, and simple design! The different frames really make this craft interesting!
ReplyDeleteWe'd love to have you share it on our {first ever} party over at OPC right here!
I just saw that you entered this into our Link Party! Totally cool! I wish we had a button, but I haven't gotten to that yet!
ReplyDeleteYour photo ledge looks wonderful! You and your dad did a great job with it!
ReplyDelete